I found this nice battery holder design on thingiverse. It was for AA batteries, but I noticed in the comments someone had left some scaling down suggestions to turn it into a AAA battery holder. It worked well. Took about 7 hours to print overnight.
Saturday, 31 December 2016
Batteries are Sorted and Stored!
I found this nice battery holder design on thingiverse. It was for AA batteries, but I noticed in the comments someone had left some scaling down suggestions to turn it into a AAA battery holder. It worked well. Took about 7 hours to print overnight.
Friday, 30 December 2016
Lucky Money Cat
Because one lucky money cat is not enough.
Also printed a Naruto Bust and a toilet scrub brush holder. Booyah.
Also printed a Naruto Bust and a toilet scrub brush holder. Booyah.
Thursday, 29 December 2016
3D Printing. Noob Impressions.
So I am quickly learning that some 3D prints are easier to accomplish than others.
Super solid things turn out well.
Things I printed today:
- Namaste lotus pendant that broke- can't separate from raft.
- A tiny Naruto figurine that broke! Then I re-printed it at 2000% scale. I will need to figure out how to make supports as gravity pulled the arms apart a little.
- cement truck
- cat-ears ring
- lucky coin
- 2 mini shelves for my bulletin board
- a cat treat catapult
- cat pendant jewelry item
- Something in Orange that I won't say here because it is a gift. My first time changing the filament, which was easy and straightforward!
It took me several tries on jewelry items to figure out that I didn't want to place them on a raft. Other than 2-footed figurines that don't look like they will balance well, I don't see much use for rafts so far. I think it has to do with the texture of my printer plate. Many printers have glass plates that people put painters tape on so that their prints didn't slip around. This printer has a special non-slip surface. However, it does make taking things off the printing plate quite tricky. I use a wall scraper and sometimes a hammer with that to chisel the items off the plate!
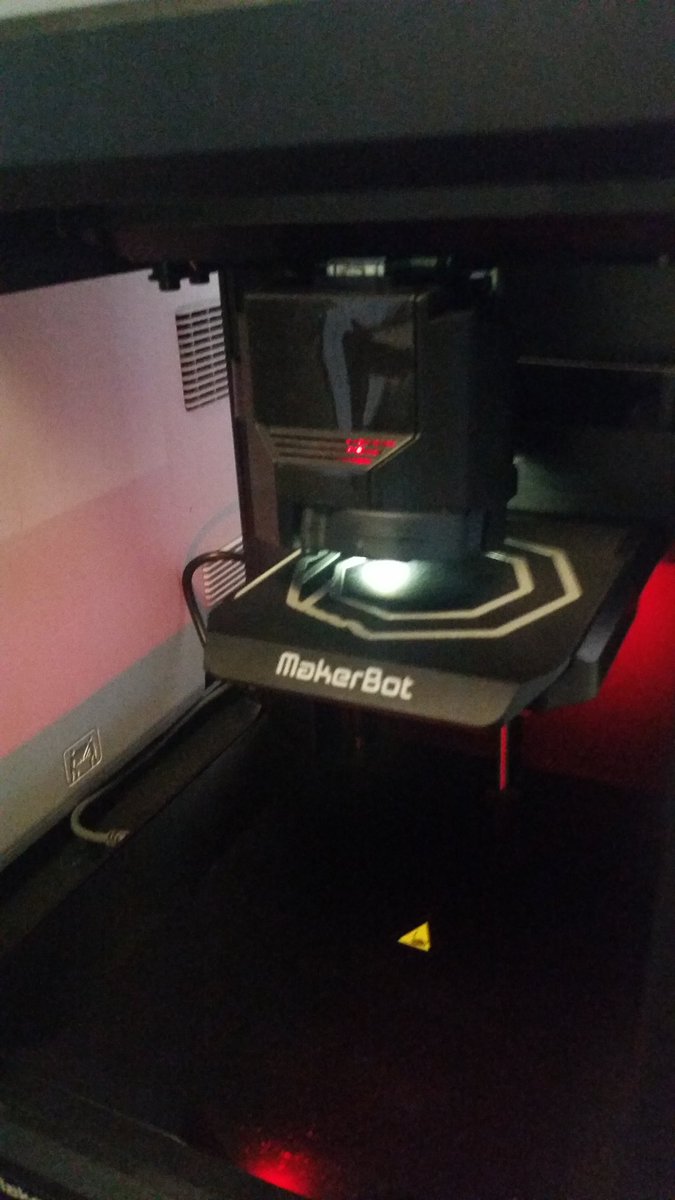
Makerbot's software is fantastic. Super easy to use for this newbie and I love that I can use it from my phone or an iPad. Having a camera on the device is awesome! I can see if the plate has been cleared before I start and I can also see if there are any problems with the filament. I do wish the camera was mounted just a little higher so you could see better at the start.
I can really easily preview the items, arrange them on the printing plate, and scale and rotate as needed. The software is great for unloading and loading the filament too.
I've even learned how to put multiple items on the same print.
So far, I'm having a blast.
Wednesday, 28 December 2016
My First Print
This is so cool. My daughter said some people might think this is inappropriate.
I responded, "Welcome to ART."
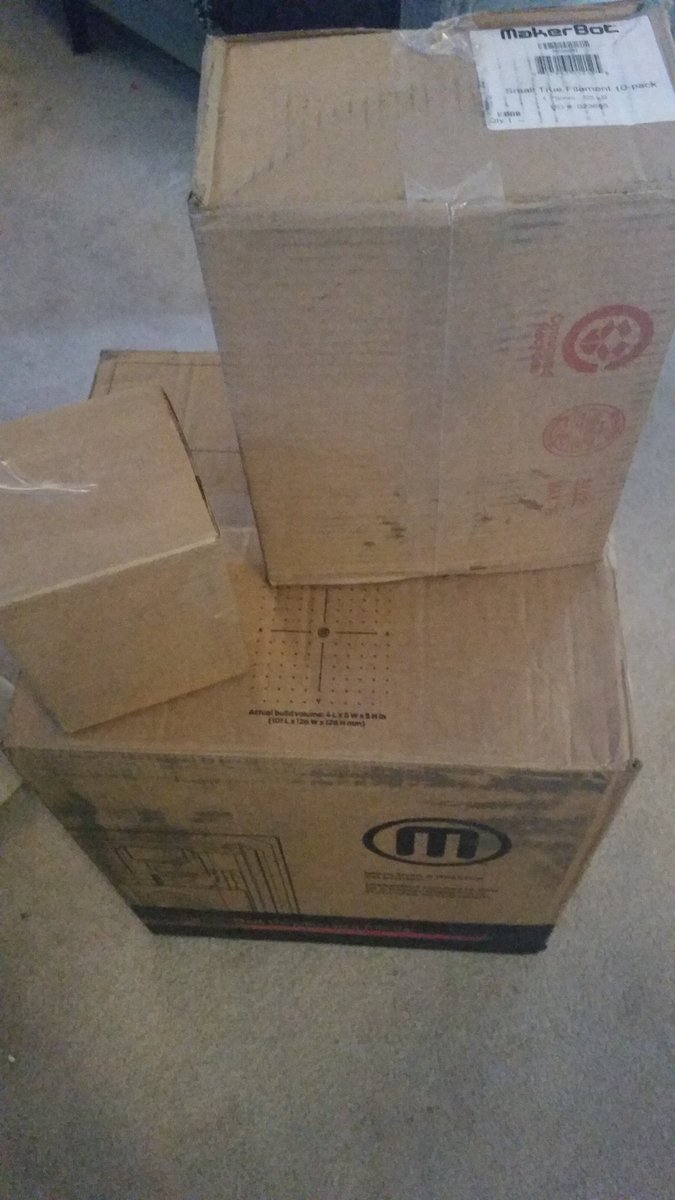
MAKERBOT ARRIVED
My Makerbot Replicator Mini+ just arrived and we are doing a test print...
OMG I am so excited!
PRINT ALL THE THINGS!
Tuesday, 26 April 2016
Adding an Outdoor Sink
This crazy old house had two laundry rooms in the basement when we bought it and both were in bad condition. As a result, I ended up with two of these utility sinks sitting in the garage. In a spring cleaning frenzy, I loaded the sinks into the truck with the idea of hauling them to the Restore to see if they would take them.
Then the battery on the truck was dead. So, the truck has sat loaded with junk in the driveway for a couple of days. I spotted one of my children filling a watering can at this outdoor faucet and he was making a giant muddy mess. It dawned on me that I could really use one of those laundry sinks! Sure enough, it works perfectly. And when my kids miss the watering can or the water gun or are just washing their hands out there, the extra water goes into the bucket below and can be used for watering my plants later.
Tuesday, 29 March 2016
Saturday, 26 March 2016
Main floor bath update
| Before/After |
<><><> MINOR COSMETIC BATHROOM UPDATE <><><>
I was expecting to do just a quick paint job, but this bathroom has some quirks. The kids' bathroom is right above it, resulting in a ceiling that has suffered an occasional flood from overflowing and splashing in the tub. And until I moved to this house, I had no idea there were so many kinds of "almond" colors for the bathroom. None of these almonds match: the sink is just off-white, the toilet is bone and tub surround is tan and the tub has a salmon-orange tone to its "almond."
The previous owner tried to address these problems by picking an almond-patterned linoleum (that is now all scratched and worn out) and painting the walls yellow. They obviously had splash damage from their kids too, and they addressed this with a wall border. There are a couple places where the top of the wall is so damaged that removing the wall border would have taken half the drywall with it.
That is all pipe-dreams and smoke and a very long time from now. This is our primary main floor bathroom for ourselves and guests and kids when they are on the main floor. I found myself not wanting to clean this bathroom. It felt old and grungy, so why bother!
Once I got into it, I thought I might be in over my head, but I managed to keep
the entire project cosmetic:
- Patched water damaged ceiling & primed ceiling & walls with Kilz primer
- Added a splash guard in corner of tub
- Painted over wall border, changing walls from yellow to grey & painted ceiling white.
- Replaced damaged & poorly cut glass shelves with black wooden shelves & stencilled on mirror.
- New fluorescent full spectrum light bulbs (although I might switch to LED as these have a slow warm-up time.)
- New floor tile in a marble pattern that has all the "almond" colors in it, grey and white
- New shower curtain
- Removed towel bar from shower wall
- touch-up trim paint
- better shelf organization
- maybe paint vanity cupboard
- paint fan cover & heater vent
- may want to do ceiling panels if this turns out to be a longer term solution.
Subscribe to:
Comments (Atom)


